Setting up a Mail server using Roundcube - Part-3 - Centos 7

Roundcube web mail is a PHP based application that integrate with SMTP and IMAP servers. This open-source mail client helps to handle the mail accounts on browsers.
Since Roundcubemail is a PHP based application the server should be a LAMP configured server.

For LAMP installation,
For Centos,
Click here for RPM based machines.
For Ubuntu,
Click here for Debian based machines.
Installing Roundcubemail,
Download the roundcube open-source package from their official site Roundcube.net
Extract and rename the file,
Move the file to the document root of your apache server.
Add a Virtual host to run the mail server,
To know about more on setting up a virtual host Click here
Permissions for Logs and Temp directories,
The web user needs access to write the logs, Change the permissions for the logs and temp directories,
Creating database and providing grants:
All your users data such as mail_id, Username should be maintained in a database, database access is necessary.
Create a database for your mail client,
Grant privileges to the user for the database,
roundcubemail will be your database name, For "localhost" leave it if you want to install roundcubemail on your local system or mention the server IP if installing in a remote server.
Flush the privileges,
Add a host entry to the server IP to mail.ljunix.com and access mail.ljunix.com/installer on your browser to start the installation.

Step:1 The first pages gives all the informations and dependencies for roundcube installation, You can proceed to the configuration step once the dependecies are met at the least. Click Next to proceed.

Step:2 Next step building your config file such as Database, Domain name, etc.,.
The database configuration is the important one. Provide the username and password mentioned on the database grants step.

Click Continue to build your configuration file,
Step:3 Select save in /tmp option which will save you configuration file in your servers /tmp direcrory.
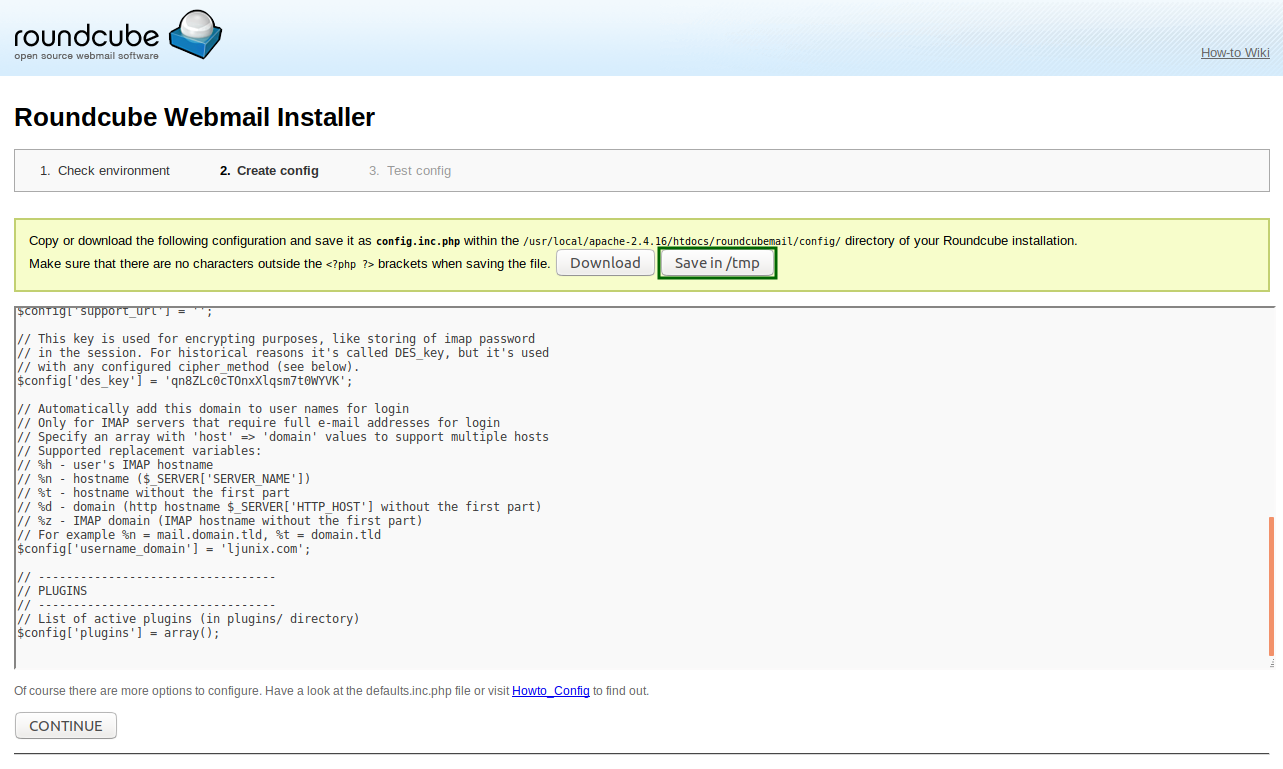
Move the file to the roundcube config directory.
Click Continue to the final installation.

Step:4 Initialize your database to insert the necessary tables for roundcube web mail,


Access your default mail server dashboard with the provided URL Ex: mail.ljunix.com.

Creating Email accounts:
We already saw how to configure the user accounts on the Postfix configuration in Part-1 article,
Access the account on the portal,

You will probably see a error message like Permission Denied, This was a common error message and that can be fixed with some workarounds,
Issue 1: Changing Permission,
To fix this issue we have manually create a Inbox in the users home directory and change the ownership,
Issue 2: Changing the Identity of the user,
The default Email-ID will be set as user@localhost to fix this change the identity on the seetings,
Click Settings,

Select the Identities on the Settings menu,
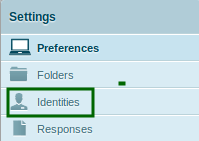
Select the Email-ID

Change the Email-ID and Display name of the account,

Now you are able to send mails from your account. To receive mails the MX for your domain should be pointed to the configured mail server.

Feel free to ask if you have any questions.


Comments